|
|
 |
Embroidered postcard greetings for the New Year.
Main page  Embroidered postcard greetings for the New Year.
 Create an embroidered postcard for the New Year or Christmas present.
To begin with we need to choose a machine embroidery design. To do this, we can use the designs purchased online or free machine embroidery designs for download from our website (www.needlework.ru). We have to much free machine embroidery designs for any themes; Christmas, Easter, birthday, back to school, baby born anniversary... All these designs available for instant download without fee and registration. You can use any sizes the designs for machine embroidery. It depends on your desires and fantasies .. Create an embroidered postcard for the New Year or Christmas present.
To begin with we need to choose a machine embroidery design. To do this, we can use the designs purchased online or free machine embroidery designs for download from our website (www.needlework.ru). We have to much free machine embroidery designs for any themes; Christmas, Easter, birthday, back to school, baby born anniversary... All these designs available for instant download without fee and registration. You can use any sizes the designs for machine embroidery. It depends on your desires and fantasies ..
 This double-sided postcard, and you may choose to do only one side. This double-sided postcard, and you may choose to do only one side.
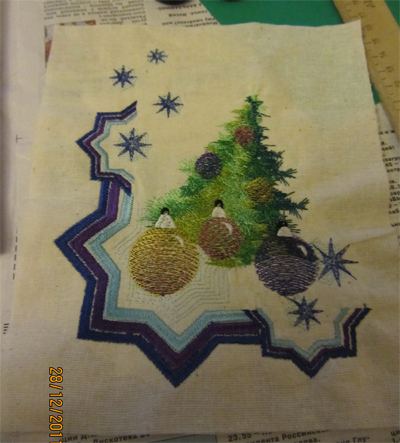
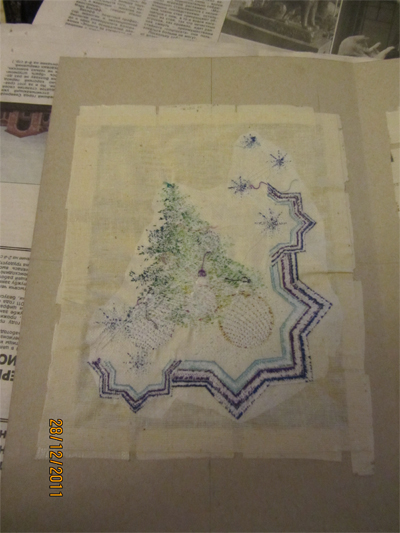
For the this embroidery design used Tear-Away embroidery stabilizer with the adhesive interlining.
From my own experience I know that severe calicocloth very moody, she loves to be distorted in every possible way in ironing.
 We will need: cardboard color and white, scissors, glue stick, double sided tape, pencil, ruler, stationery knife. Since the machine embroidery design was sufficiently large, then the post card got more 29 x 20. Cardboard size A3.
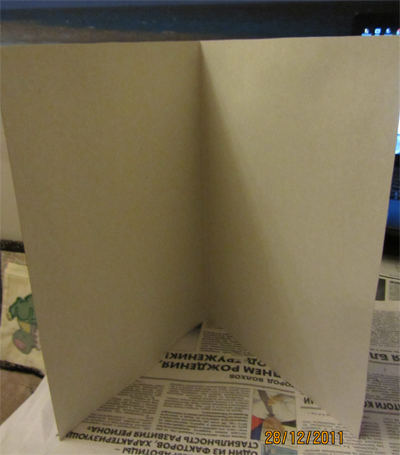
So we already have the design embroidered, proceed to the production of postcards. Take a sheet of colored cardboard and add it in half.
Then, from the inside mark up the middle, and then mark up on it the size of our embroidery. We will need: cardboard color and white, scissors, glue stick, double sided tape, pencil, ruler, stationery knife. Since the machine embroidery design was sufficiently large, then the post card got more 29 x 20. Cardboard size A3.
So we already have the design embroidered, proceed to the production of postcards. Take a sheet of colored cardboard and add it in half.
Then, from the inside mark up the middle, and then mark up on it the size of our embroidery.
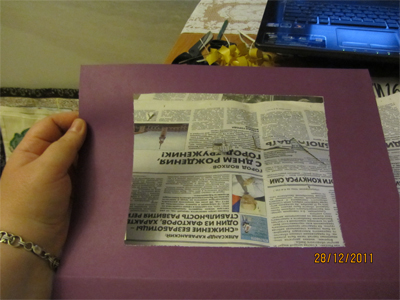
 Very well-cut machine embroidery design, so that the edges remain somewhere in the 1.5 cm to stick to the cardboard. Then, using a knife cut out of office in a cardboard marked isour opening. Do this as accurate. Only use a sharp knife. Very well-cut machine embroidery design, so that the edges remain somewhere in the 1.5 cm to stick to the cardboard. Then, using a knife cut out of office in a cardboard marked isour opening. Do this as accurate. Only use a sharp knife.
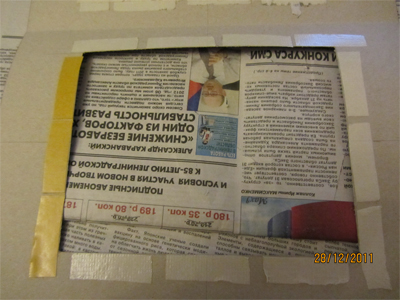
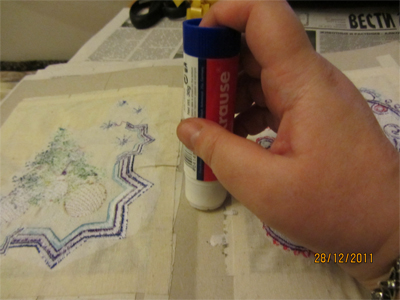
After that, from the inside edge of the hole on cardboard pasted pieces of double sided scotch. Such a scotch you can buy at any nearest hardware store. It's not expensive.
 Then remove the protective layer of scotch and accurate glue our design machine embroidery topounce. Then remove the protective layer of scotch and accurate glue our design machine embroidery topounce.
Now we take a glue stick and glue nanaosim remaining free sites.
Watch carefully so as not to remain empty spaces. On this depends the strength mounting and the quality of your cards. Excess adhesive residue and remove the trim paper. This is important because the this embroidered postcard can not be washed.
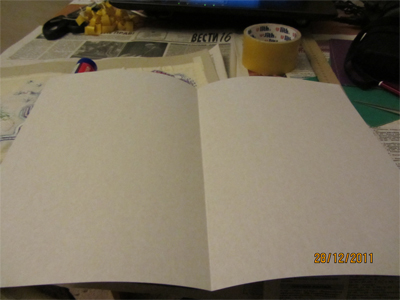
Take the white (any colors) card board and add it in half inside the white side. Use a metal ruler. Then fold line will be absolutely flat. This is done towithin a embroidered postcard on which you could wish to write, as well as to hide the underside of embroidery designs.
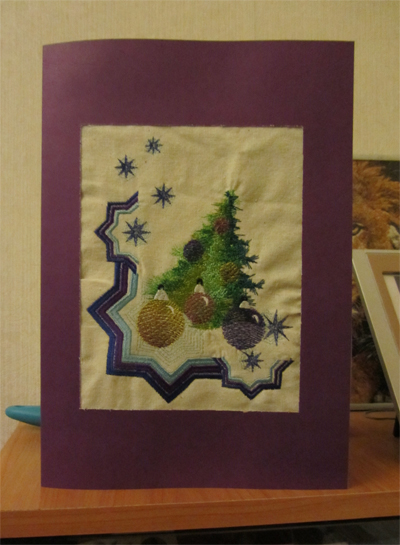
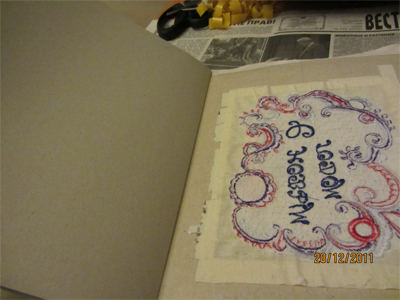
 And the neat white cardboard pasted on the wrong side of colored cardboard. If there is a need, then trim the edges, and all of our postcard ready. That's how it will look like on the inside. How will it look from the outside can be found at the top of picture. And the neat white cardboard pasted on the wrong side of colored cardboard. If there is a need, then trim the edges, and all of our postcard ready. That's how it will look like on the inside. How will it look from the outside can be found at the top of picture.
Remember all the materials mentioned in this review are chosen arbitrarily. You can change any of them.
 Small tips: Can the contour of the frame (before gluing the inner sheet) or directly paste to sew on a machine embroidery lace.a inner page can be a beautiful any backdrop to print to a home printer.
|
|
|
 Instant Download


